Let’s talk about something super important—how you present your artwork online. You’ve poured your heart into your work, and now you need to showcase it in the best light (literally!). When people can’t see your art in person, the photos you upload to your Artist Shop are everything. Along with your description, these photos are what will catch a collector’s eye and potentially lead to a sale. So, here’s how to make sure your photos do your art justice, even when you’re just using a smartphone!
Place Your Art on the Wall
Think of it this way: your artwork deserves to shine in the best possible way, and that means it needs to be flat and straight. Resist the urge to place it on the floor or on an easel—neither will give you that clean, straight-on shot you need. Hanging it on the wall will ensure your piece is aligned perfectly, and trust me, that alignment makes a big difference when someone’s scrolling through your Artist Shop.
Align Your Camera for the Best Angle
Just like you’d want a perfect view in a gallery, your camera needs to be aligned properly. Keep your phone camera parallel to your artwork. If it’s even slightly tilted, your work might look distorted, and that’s the last thing you want! A tripod or phone stand can really help here, but even without one, just make sure you hold the phone steady and centered.
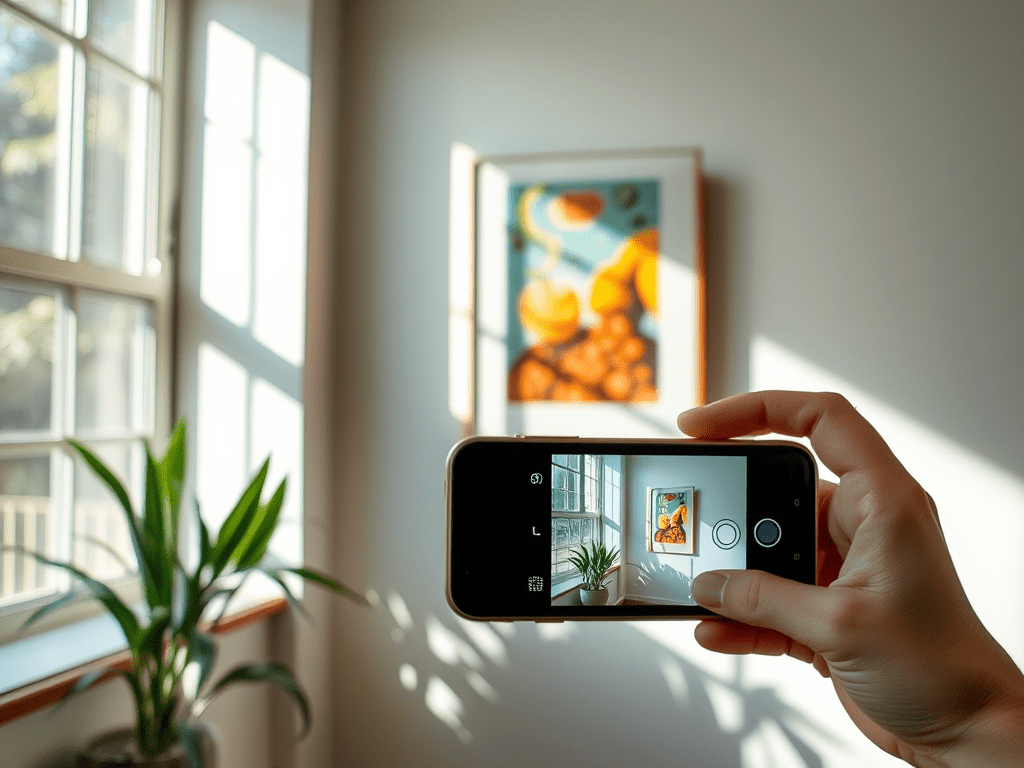
Lighting Is Key
Great lighting can make or break your photos. Natural light is your best friend here, so try to shoot your artwork near a large window with soft, indirect sunlight. Avoid harsh direct light—it can create unwanted shadows or glare. If you can’t rely on natural light, set up some soft lights at a 45-degree angle on either side of the artwork to evenly illuminate it. The better the lighting, the more your artwork’s true colors will pop online.
Tap Into Your Camera’s Settings
Your phone’s camera is probably more powerful than you think! Play around with the exposure and focus—usually, you can just tap the screen to focus on your artwork. Lower the exposure if the image is coming out too bright. Most importantly, make sure your colors are accurate, because collectors are going to care about how those hues translate in real life.
Avoid Reflections and Glare
If your artwork is framed behind glass, here’s a tip: try to photograph it before you put the glass on. Reflections can obscure all that detail you worked so hard to create. If you already have the piece framed, you might need to play around with the angles and lighting to minimize glare, but always keep glass in mind—it can be tricky!
Use HDR Mode for Balance
Your smartphone probably has an HDR (High Dynamic Range) mode. This feature is amazing for balancing out areas of your photo that are too light or too dark, so you get a more even, professional look. This is especially helpful when photographing pieces with strong contrasts or intricate details.
Capture Multiple Angles
Don’t settle for just one photo! Take a bunch of shots—from close-ups to wider views. Show off the texture of your brushstrokes, the fine details of your line work, or how the piece looks from different angles. Giving potential buyers multiple perspectives will help them connect more with the piece and imagine it in their own space.
Edit, But Don’t Overdo It
Once you’ve taken your photos, a little editing can go a long way. Use your phone to tweak the brightness, contrast, or color balance, but keep it natural. You want the photos to reflect what the artwork looks like in person. Over-editing can mislead buyers, and that’s a fast way to lose trust.
